Showing posts with label dessert. Show all posts

Friday, July 20, 2012

Tiramisu

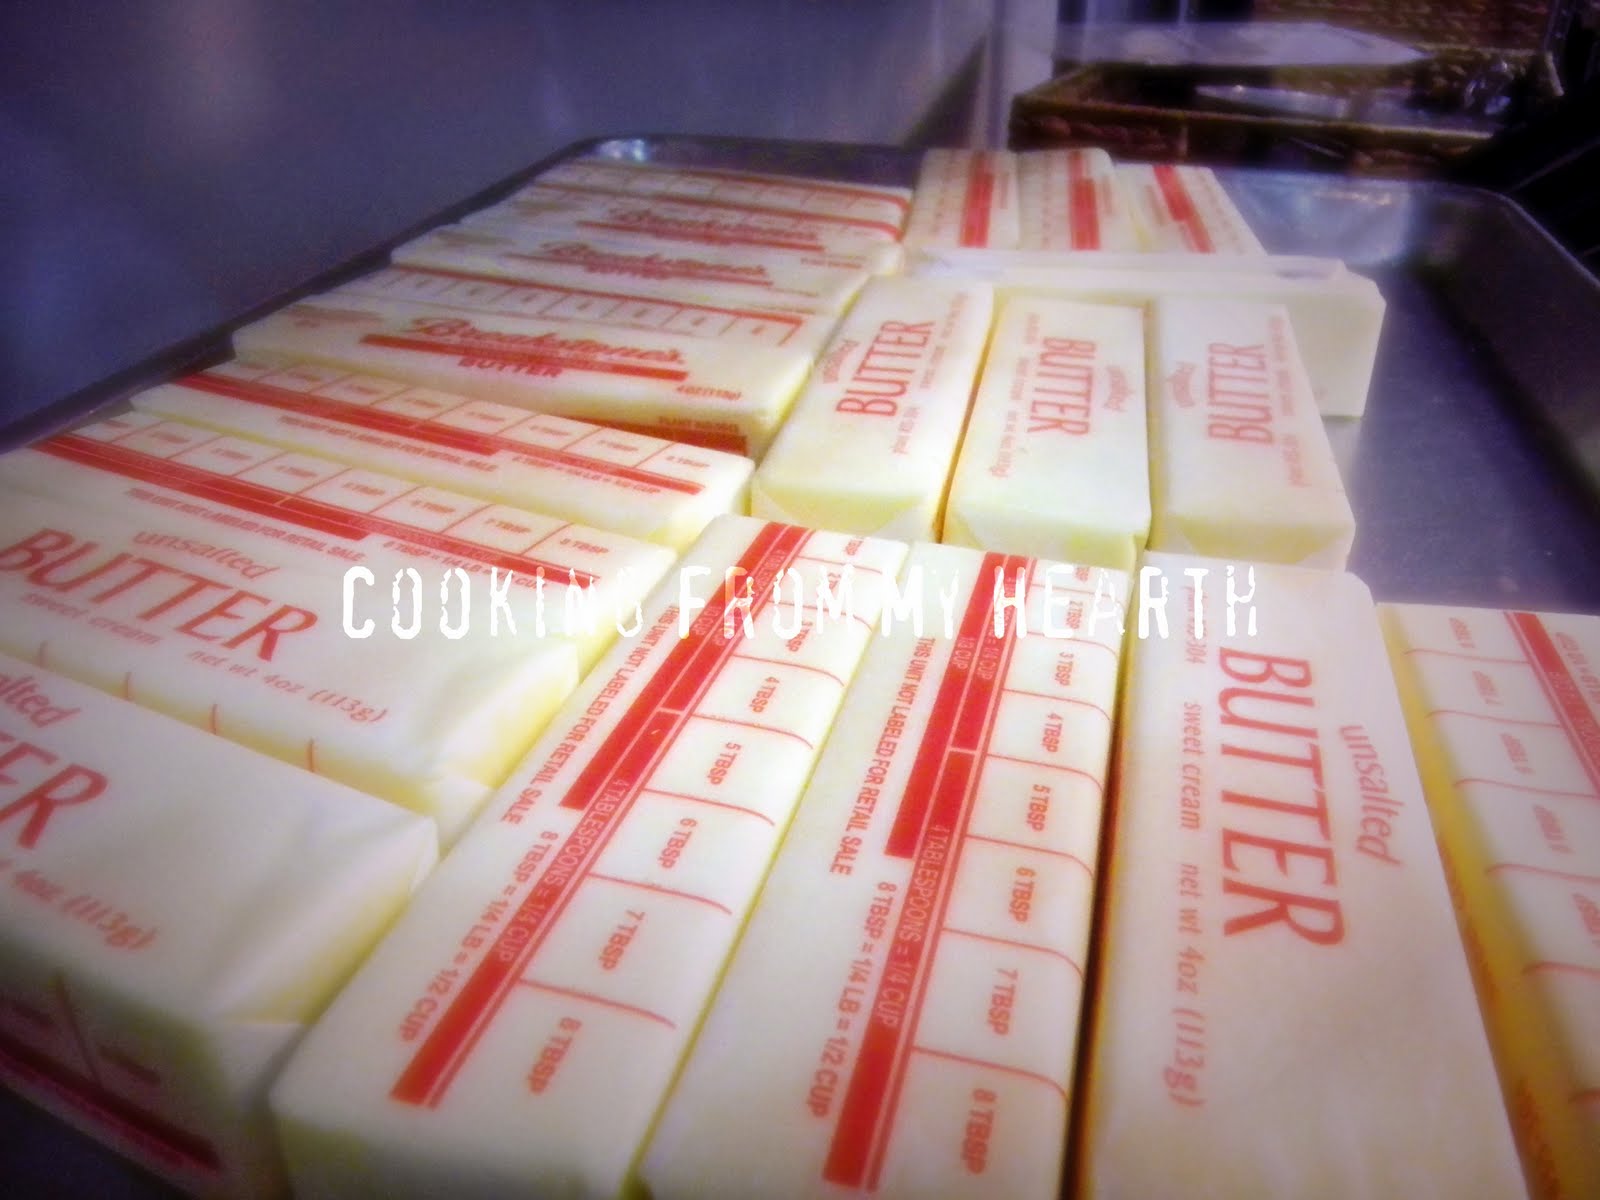
It took me a while to come up with a good recipe for this rich Italian dessert. It was clear to me as I tried recipe after recipe that some cooks/chefs don't test before they share. I've had tirami-soup, as my toddler affectionally calls it. I've run out of coffee to dip lady fingers in only one layer into dessert assembly. All of my mistakes have been delicious, but I haven't been proud of them. Thankfully, I now have a recipe to share with you that I am proud of. But first, a couple lessons I've learned along the way:

  1. The first couple times you make tiramisu, prepare a little extra of the coffee and rum mixture. Better to have leftovers than to run out in this case.
  2. First I will say that I have not been paid/compensated in any way to recommend this product, but: Use Bellino Savoiardi when you're looking for a great lady finger for your tiramisu. After using these lady fingers when making my own, I won't use any other.
Ingredients
  • 6 egg yolks
  • 3/4 cup sugar
  • 2/3 cup whole milk or heavy cream (for making custard)
  • 2 1/2 cups heavy cream (for whipped cream)
  • 1 tsp vanilla extract
  • 16 ounces mascarpone cheese
  • 2 7-ounce packages of lady fingers  
  • 1 cup espresso or strongly brewed coffee, cooled to room temperature
  • 8 TBSP rum
  • 1-2 TBSP unsweetened cocoa powder, for dusting
To Make
  1. Whisk together egg yolks and sugar in a medium pot until well blended. Whisk in your 2/3 cup milk/cream and cook over medium heat, stirring frequently, until the mixture simmers. Let the mixture simmer for about one minute, and remove from the heat. DO NOT OVERCOOK OR YOU WILL HAVE SUGARY SCRAMBLED EGGS. YUCK.  Cover and put into your refrigerator to cool for an hour. 
  2. Using a hand mixer or stand mixer (or a whisk if you have boundless energy and time), beat the heavy cream and vanilla until stiff peaks form... about 5-10 minutes.
  3. Remove egg mixture from 'fridge and strain using a fine mesh strainer or berry strainer. 
  4. Stir the strained egg mixture into the mascarpone.
  5. In a small bowl, combine rum and espresso/coffee.
  6. Take out a 13x9 baking dish. 
  7. Dip each lady finger in the coffee/rum mixture for 3-5 seconds, then form your first layer at the bottom of the pan. If necessary, break some of the lady fingers in half so that they fit properly.
  8. Once you have a layer of soaked lady fingers, spread half of the mascarpone mixture as the next layer.
  9. Make a third layer of whipped cream.
  10. Repeat steps 7-9 once more.
  11. Dust the top of your tiramisu with cocoa powder.
  12. Cover and refrigerate for 6-8 hours, so that the dessert has time to set and the flavors have time to meld.

Tuesday, December 20, 2011

Dulce De Leche

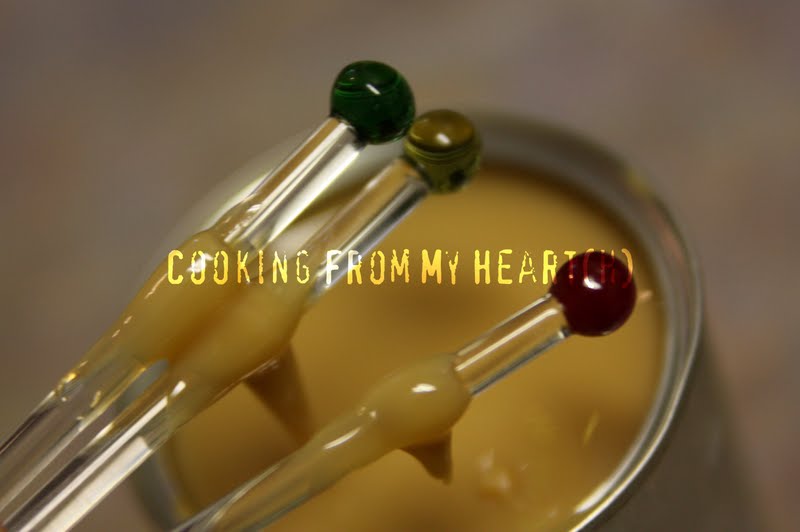
I shared this recipe on the Cooking From My Heart(h) Facebook page the other day, and thought it would be good to get it up on the ole blog. We made dulce de leche every Christmas at my house. Spread it on toast, use it as an ice cream topping, eat it straight off the spoon... it tastes like caramel. Endless possibilities await! Without further adieu, I give you dulce de leche in six easy steps:


How To Make It
1) Buy as many cans of sweetened condensed milk as you want.
2) Peel the labels off the cans, but leave them sealed.
3) Put sealed cans in a large pot and fill with water.
4) Bring water to a boil and "cook" cans for 2.5-3 hours. Keep the cans covered with ample water or they will EXPLODE.
5) When time is up, put cans in cold water by pouring or using tongs. When cool, put the cans in your 'fridge overnight.6) Open cans, and enjoy freshly made dulce de leche!

Friday, November 18, 2011

Flan

Making and sharing family recipes is one of my favorite things to do! Flan and I go way back too... My Nana used to make it on special occasions, and I'm currently kicking myself for not making it sooner. I remember thinking as a little girl that the caremelized sugar had a taste reminiscent of maple syrup.

The ingredients list is short and inexpensive. Eggs, milk, sugar, and vanilla are pretty standard items in my kitchen. What about yours? Just add a little heat on the stove and in the oven, followed by some chill time in your 'fridge, and you'll be greeted by deliciousness when your flan evacuates the pan.

Ingredients
- 2 cups sugar
- 4 cups whole milk
- 6 eggs
- 1 tsp vanilla

How To Make It
1) Melt one cup of the sugar over low heat in a small pan/saucepan. Don't stir, as stirring promotes the formation of sugar crystals.
2) Remove the sugar from the heat when it is just turning golden brown. Use the hot sugar (careful!!) to coat the bottom and sides of a tube or bundt pan. It will sugar will continue to cook even after you remove it from the heat, so remove sooner rather than later to avoid burning.
3) Heat your milk until the boiling point, then remove from the stove. This is known as "scalding" milk. Add the second cup of sugar and stir until both are mixed.
4) Preheat your oven to 350 degrees Fahrenheit.
5) Take two eggs, separate out the yolks, and toss the whites and shells.
6) Whisk the remaining for (whole) eggs with the two yolks.
7) Gradually pour the hot milk/sugar mixture into the eggs in a slow stream, whisking all the while so that the eggs don't cook.
8) Stir in the vanilla.
9) Pour the egg mixture through a fine mesh strainer for a nice silky custard base, then pour into the bundt pan to cover the sugar.
10) Put the bundt pan in a larger baking pan/casserole dish. Pour hot/boiling water into the outer dish until it is at a level that's at least halfway up the flan.
11) Bake until flan is set in the center, about 45 minutes to an hour, keeping the water level up the whole time.
12) Cool all day or overnight in the refrigerator before sliding a knife around the edges and turning upside down onto a plate or platter.

Sunday, October 2, 2011

Glazed Lemon Cookies

My brother-in-law is getting married next weekend and having a cookie reception after the ceremony. Family from across the country are bringing dozens of cookies to share. Tasty variety will abound! I baked up a batch of Glazed Lemon Cookies (recipe from Real Simple magazine). The cookie itself has a taste similar to a sugar cookie with a satisfying snap, and the lemon glaze adds a refreshing tang to the mix.

Ingredients
- 3/4 cup (1 1/2 sticks) unsalted butter, softened
- 3/4 cup sugar
- 2 large egg yolks
- 1/2 tsp pure vanilla extract
- 1/4 tsp kosher salt
- 2 cups all purpose flour (The cookie dough should be about the consistency of play-dough, add a little flour at a time until it's at this consistency when you press a couple pieces together.)
- 1 cup powdered sugar
- 2 TBSP fresh lemon juice, plus more if necessary
- 1 tsp grated lemon zest

How To Bake Them
1) With an electric mixer, beat the butter and granulated sugar until fluffy. Add the egg yolks, vanilla, and salt and beat to combine. Gradually add the flour, mixing until just incorporated.
2) Divide the dough in half and shape into 1 1/4-inch-diameter logs. Wrap in wax paper or plastic wrap and refrigerate until firm, about 30 minutes.
3) Heat oven to 350 degrees Fahrenheit. Slice the logs into 3/8-inch-thick pieces and space them 1 1/2 inches apart on prepared baking sheets.
4) Bake until lightly golden, 16 to 20 minutes. Let cool on the baking sheets for 5 minutes, then transfer to cooling racks to cool completely.
5) In a small bowl, whisk together the confectioners' sugar, lemon juice, and zest until it forms a thick but pourable glaze (add more lemon juice if necessary). Dip the top of each cookie into the glaze and let set, about 15 minutes.

Note: Instead of refrigerating the dough, you can freeze the logs from Step 2 for up to two months. To bake, follow the recipe instructions, cutting and baking the dough from frozen, and use the upper end of the time range.

Sunday, August 7, 2011

Sangria O'Leib

Have you ever made sangria? It's a very versatile drink, and like most of the recipes I share here you'll find that it has layers of flavor and is simple to prepare. So, grab your prettiest pitcher, some summer spirit, and get stirring!

Ingredients
- 1 bottle red wine
- 1 cup orange juice
- Juice of 1 lime
- 2 cups of sliced, chopped, or chunked fruit (no peel or seeds): Take your pick-- Oranges, tangerines, strawberries, peaches, mango, blueberries, raspberries, kiwi, pineapple, or watermelon.
- 2 TBSP sugar, white or brown
- 1 shot brandy, triple sec, gin, or rum
- 2 cups ginger ale or sparkling juice

How To Make It
1) Pour wine, orange juice, and lime juice into your pitcher.
2) Toss it the fruit.
3) Add the sugar and spirits and stir all together.
4) Chill overnight.
5) Add ginger ale or sparkling juice just before serving. Salud!

Panna Cotta With Raspberry Coulis

I've been meaning to make panna cotta for months now. "Panna cotta" literally translates to "cooked cream" in Italian. Doesn't that sound divine? Add a little sugar, vanilla, et cetera, and you have yourself a dessert. If you're a vegetarian, you might find yourself in a bit of a pinch, however, when you find that gelatin is also on the traditional ingredient list. But, have no fear: Agar agar is here!

Agar agar is a 100% vegetarian gelatin made of seaweed. It's odorless, tasteless, and perfect for thickening desserts without using animal bones. I use the product at this link, and more information about using agar agar in cooking can be found here.

Ingredients
For the panna cotta you'll need...
- 1 cup whole milk
- 1 cup heavy cream
- 1/4 cup sugar
- 1 TBSP agar agar flakes
- 2 tsp vanilla

For the raspberry coulis you'll need...
- 6 ounces raspberries
- 1/4 cup sugar
- 2 TBSP water

How To Cook It
The panna cotta...
1) Combine the panna cotta ingredients in a pot on your stove over low heat.
2) Stir frequently and bring to a simmer.
3) Cook on low (do not allow the liquid to boil!) as the agar agar dissolves and remove from heat.
4) Rinse four small bowls under cold water. Don't dry if you're planning on unmolding your dessert later.
5) Spoon your panna cotta into the bowls. They'll each need to hold about a half cup serving.
6) Allow to cool and set in the refrigerator for three or more hours, and serve.

The raspberry coulis...
1) Rinse the berries, and drain well.
2) Put in a pot with the water and sugar. Stir to combine.
3) Bring the mixture to a simmer, stirring frequently.
4) Remove from heat and blend using an immersion blender, food processor, or blender.
5) Allow your coulis to cool to room temperature and refrigerate until ready to drizzle over your panna cotta.

Tuesday, August 2, 2011

Tip From The Hearth: Chilly Grapes

Don't you just love frozen treats during the hot days  of summer? They can make you feel cool and refreshed on the stickiest of afternoons. Ice cream, popsicles, gelato, frozen yogurt, mmmmmm.... Who needs dinner?

If I could, I'd eat large quantities of ice cream every day. But when I'm of a mind to eat well and nourish my body, I reach for my stash of frozen grapes.

If you haven't already discovered this tip on your own, I urge you to try it for yourself. Grapes contain a lot of water. When frozen, their insides turn into a delicious juice sorbet. And, little round containers of fruity sorbet I can eat without a spoon? Right up my alley!

How To Freeze 'Em
1) Wash grapes and pat dry.
2) Lay out in a single layer on a freezer safe baking sheet or casserole dish.
3) Allow to freeze overnight and store in a container of your choice.

Sunday, July 31, 2011

Strawberry Mango Frozen Yogurt

It's definitely the season of the ice cream maker around our home. Last week I shared a recipe for chocolate ice cream; this week I bring you another recipe from the Cuisinart recipe booklet that came with my machine. The original ingredient list called for strawberries only, but I like my frozen desserts with a little tropical flair during the warmer months. Chunks of mango did just the trick!

Ingredients
- 48 ounces of plain low-fat yogurt, strained
- 2/3 cup sugar
- 1/4 tsp salt
- 1 1/2 tsp vanilla
- 2 TBSP light corn syrup
- 3/4 pound strawberries, tops removed and sliced
- 3/4 pound mango chunks
- 2 TBSP honey
- 2 TBSP lemon juice, freshly squeezed

How To Strain Yogurt
1) You'll need cheese cloth, a berry strainer, and a bowl to catch liquid that keeps the bottom of the strainer off the bottom of the bowl.
2) Line the strainer with the cheese cloth.
3) Scoop the yogurt into the cheese cloth and twist together at the top. Give the bundle a couple gentle squeezes to get the water moving through your cloth.
4) Place the bundle and strainer over a bowl and put in your refrigerator. Allow to drain for 2-4 hours.
5) The yogurt will have a consistency closer to greek yogurt/cream cheese when finished straining, and can then be used in this recipe.

How To Make It
1) Ready your ice cream maker according to package instructions. Older units usually require rock salt and ice; modern ones tend to have double-walled bowls that must be placed in a freezer for 24-hours.
2) In a large bowl, whisk the strained yogurt with the sugar, salt, vanilla, and corn syrup; reserve.
3) In a medium saucepan, heat the fruit, honey, and lemon juice on low for about 5 minutes, or until just softened.
4) Strain, discard liquid, and cool.
5) Once the strawberries and mangoes have cooled, stir into the yogurt mixture. Cover and refrigerate for 2 to 3 hours, or overnight.
6) Turn your ice cream maker on; pour mixture into the machine let mix until thickened, typically 25 to 35 minutes with a modern ice cream maker (pay attention to your unit's instructions).
7) The yogurt will have a soft, creamy texture. If a firmer consistency is desired, transfer the yogurt to an airtight container and place in freezer for about 2 hours. Remove from freezer about 15 minutes before serving.

Saturday, July 23, 2011

Simple Chocolate Ice Cream

Ice cream is so pricey in New York City that I decided to start making my own. When you pay upwards of six dollars for a half gallon of run of the mill ice cream, making your own starts to look more appealing. So, I bought an ice cream maker by Cuisinart and made my first batch on Friday morning using the recipe booklet included with my new favorite kitchen toy. And, yes, it tastes as good as it looks.

Simple Chocolate Ice Cream
Ingredients
- 1 cup cocoa powder
- 2/3 cup sugar
- 1/2 cup packed dark brown sugar
- 1 pinch salt
- 1 3/4 cups whole milk
- 3 3/4 cups heavy cream
- 1 TBSP vanilla extract

How To Make It
1) Ready your ice cream maker according to package instructions. Older units usually require rock salt and ice; modern ones tend to have double-walled bowls that must be placed in a freezer for 24-hours.
2) Place the cocoa and sugars in a medium mixing bowl; stir to combine.
3) Add the whole milk and use a hand mixer or immersion blender on low speed or whisk to combine until the cocoa and sugars are dissolved. Stir in the heavy cream and vanilla.Cover and refrigerate 1-2 hours, or overnight.
4) Turn your ice cream machine on; pour mixture into the machine let mix until thickened, typically 25 to 35 minutes with a modern ice cream maker (pay attention to your unit's instructions).
5) The ice cream will have a soft, creamy texture. If a firmer consistency is desired, transfer the ice cream to an airtight container and place in freezer for about 2 hours. Remove from freezer about 15 minutes before serving.

Saturday, June 25, 2011

Rainbow Angel Food Cake

Our church celebrates NYC Pride every year. This year I offered to contribute a cake for the festivities and came up with the idea of dressing up a plain angel food cake with the colors of the rainbow. For the cake, I used a tried and true recipe from The All New Good Housekeeping Cook Book. The rest was just putting together a pretty design with colorful fruits.

Ingredients
For The Cake You'll Need...
- 1 cup cake flour
- 1/2 cup powdered sugar
- 1 2/3 cups egg whites (12-14 large eggs)
- 1 1/2 tsp cream of tartar
- 1/2 tsp salt
- 1 1/4 cups granulated sugar
- 2 tsp vanilla extract
- 1/2 tsp almond extract

Fruit...
Get at least five fruits: a variety of red, orange, yellow, green, blue, and purple. If you have other shade of fruit to add into the mix do so, but I used the following fruits and assembled the leftovers into a tasty salad.
- strawberries
- mandarin oranges
- pineapple
- green grapes
- blueberries
- blackberries

How To Make It
1) Preheat your oven to 375 degrees Fahrenheit.
2) Sift flour and powdered sugar together over a small bowl.
3) In large bowl, with mixer at medium speed, beat egg whites, cream of tartar and salt until foamy. Increase speed to high. Beat until soft peaks form. Sprinkle in granulated sugar, 2 tablespoons at a time, beating until whites stand in stiff, glossy peaks when beaters are lifted. Beat in vanilla and almond extracts.
4) Sift flour mixture, one-third at a time, over beaten egg whites. Fold in with rubber spatula just until flour mixture is no longer visible. Do not overmix.
5) Scrape batter into an ungreased 9-10 inch tube pan; spread evenly. Bake until cake springs back when lightly pressed, 35-40 minutes. Invert cake in pan onto a baking sheet and allow to cool completely. Run a thin knife or spatula around the cake to loosen from side and center of tube pan. Remove from pan and place on cake plate/platter.
6) Slice fruit into bite size pieces and arrange around finished cake.
7) Serve with additional dusted powdered sugar or fresh whipped cream.

Wednesday, June 22, 2011

Sugared Tomatoes

I know plenty of folks who sprinkle sugar on their morning grapefruit, but tomatoes?!? It's true that tomatoes are usually savory fare, but they can also be transformed into an easy summer dessert.

When I was a girl, I was introduced to the idea of "tomatoes as dessert" by an elderly friend of the family. He and his wife both told me that when they grew up on their respective family farms, their parents would pluck tomatoes from the garden, add sugar, are serve to the kids for dessert. I was skeptical, but tried and fell in love with the idea.

So, how do you make a light summery dessert and use up excess tomatoes in the process? Very, very simple...


Ingredients
- tomatoes, thickly sliced
- sugar, to taste (I'd recommend just using less sugar over an artificial sweetener any day.)

How To Prepare
1) Lightly sprinkle your tomato slices with sugar and serve. That's it. Done. Yum!

Thursday, May 19, 2011

Sunshine and Popsicles

Did your Mom ever make you popsicles when you were little? Bring a little sweet chill to your warm weather fun by making your own. The process is so simple I won't even call it a recipe...

Ingredients
- Popsicle molds. I have a set from my childhood, but you can find your own online.
- Take your pick! I used peach and pineapple yogurts from Chobani in this batch, but you can use any kind of yogurt you have on hand, juice, pudding, or even make a smoothie and pour it into your molds.

How To "Cook" It
1) Pour your chosen ingredients into the popsicle molds.
2) Put in the freezer for the same amount of time as it takes your ice cubes to freeze, ideally overnight.

Thursday, May 12, 2011

Strawberry-Rhubarb Pie

So, my friend Shannon is biking 300 miles this week to raise awareness about climate change. She's titled her journey: Will Bike For Change (Or Pie!), and since she's joining us for dinner tonight before her ride kicks off in New York I thought it only fitting that we have pie for dessert. Strawberry-Rhubarb is a classic spring pie, and while rhubarb is bitter on it's own it pairs nicely with the sweetness of the strawberries. You'll find yourself headed back to your 'fridge for seconds.

A tip from me: Strawberries and rhubarb are both juicy ingredients. This pie will most likely turn out to have some extra liquid. Rather than drowning your filling with too much more flour than the recipe calls for, embrace a little juice! You can always serve your pie over ice cream, where juice is an advantage. Now, wouldn't that be a shame?

Ingredients

For the crust you'll need...
- 3 cups flour
- 1 tsp salt
- 1 cup vegetable shortening
- 1.5 TBSP vinegar
- 10-12 TBSP water

For the filling you'll need...
- 6 cups strawberries, de-stemmed and sliced
- 2 cups rhubarb stalks, sliced
- 1 tsp fresh lemon zest
- 1 tsp lemon juice, ideally freshly squeezed
- 1/4 tsp cinnamon
- 1 tsp vanilla
- 1 1/2 cups sugar
- 1/2 cup flour

How To Cook It

The crust...
1) Blend flour and salt.
2) Cut in shortening with a pastry cutter until the pieces are the size of small peas.
3) Sprinkle the water/vinegar into the flour mixture while gently tossing the mixture with a fork. Form into two balls. Try to handle the dough as little as possible, but add a little more water if the dough is too dry.
4) Put the dough balls into the refrigerator to chill.
5) Preheat your oven to 400 degrees Fahrenheit while you prepare the filling.

Assembling and baking your pie...
1) After you've combined your filling ingredients in a large bowl, grease a pie plate.
2) Place the dough on a floured surface and roll from the center to the edges to make a round flat dough that is a little bigger than your pie plate.
3) Gently fold it in half to pick it up and place it on the pie plate. Pat down and add your filling.
4) Repeat step two to make the top crust.
5) Crimp the edges together, using a little water if necessary.
6) Using a knife, cut some openings in the top of the pie. Be creative! You could do anything from a couple simple lines on up. Think of it like carving a jack-o-lantern if it helps you to have a little more fun.
7) Place the pie pan on a cookie sheet (to catch any drips) and bake for 50 minutes, or until the crust is nice and golden.
8) Allow your pie to rest for at least an hour before serving.

Wednesday, May 11, 2011

Baking Class: Butter Lane Cupcakes

I had the pleasure of joining a group of ladies from the Urban Girl Squad at Butter Lane Cupcakes last night for a baking class. I don't journey downtown often, but let me tell you: The cupcakes and baking/decorating classes at Butter Lane are officially added to my list of excuses to hop on the subway. All ingredients are fresh, natural, and ideally local as well. Best of all, not a glimpse of fondant in sight!

We learned some tricks of the trade to help us improve our baking techniques:
  • Use cake flour when making cupcakes. It has less gluten than all purpose flour, and will make for a lighter cake.
  • When mixing your flour into the wet ingredients in your recipe, less is more. Don't mix the batter too much, or you'll develop more gluten in the flour. Translation: Chewy cupcakes. Stop your mixer (or your spoon) when the flour just disappears.
  • On the other hand, it's the opposite when making a good butter cream frosting. For nice fluffy, light frosting, mix for a longer period of time.
  • Even when you're not making cream cheese frosting, add some to frosting recipe. It's not exactly intuitive, but it cuts down on the amount of sugar you need in your cupcake topping. 
  • Move beyond the basic vanilla, chocolate, and cream cheese frosting flavors. Feeling adventurous? Mix a scoop of peanut butter into your chocolate frosting! Add some fresh fruit preserves into your vanilla frosting! Shake some cinnamon into that cream cheese!
  • Use an ice cream scoop when you add the cupcake batter to your liners. It will ensure that you have an equal amount of cupcake mix in each cup.
Disclaimer: I am in no way a skilled cupcake decorator, as you can see from the above photo. The other women and I did our best, but we were no match for our teacher... who had attended pastry school! This was a delicious treat though, and I truly enjoyed my experience at Butter Lane. I look forward to developing my decorating skills in the coming years.

If you're in New York City, stop by the bakery on East 7th Street for a dessert to remember. Whether you're a local or some distance from Manhattan, you'll definitely enjoy the recipes posted on the Butter Lane Cupcakes page on Facebook (like the page, then look under PDFs). Happy baking!

Saturday, April 9, 2011

Frothy Maple Frappe

Like many things in life, figuring out the recipe for a frappe took a couple tries. I wanted to make a blended iced coffee drink like you can get at a coffee shop, but without $5.00 leaving your wallet. The basic ingredients are in most kitchens, so you can make this treat any time! You'll need milk, coffee, ice cubes, and a sweetener. You can even put in additional flavors to suit your taste.

I opted to use maple syrup in my frappe this morning. It's sugaring season in New England and  Merck Forest and Farmland Center, one of my favorite places to visit, is tapping their maples trees and producing fresh, organic maple syrup. Maple syrup makes the perfect addition to a frappe, since it serves as both sweetener (no sugar necessary!) and flavoring.

Ingredients
- 1/3 cup whole milk (Use reduced fat milk for a lighter drink, or half and half or heavy cream for a richer one.)
- 3/4 cup coffee, cooled
- 7-8 ice cubes
- 1/8 cup maple syrup

How to Cook It
1) Place all ingredients in your blender.
2) Blend until fully combined. It's that simple!

Monday, April 4, 2011

Zinny Peaches

Well, I was originally going to be cooking with fresh pineapple today, but I  was too slow. The pineapple was starting to mold, and mold is not delicious (Hush, blue cheese fans!). As a yummy substitute, I thought I'd use up a few frozen peach slices. Peaches aren't in season right now in New York, and frozen gets you closer to the taste I look for with this recipe than the syrupy canned variety. If peaches are in season where you are, use those!

Ingredients
- 1 large peach, peeled, pitted, and sliced into wedges (or equivalent of frozen, no sugar added peach slices)
- 6 whole cloves
- 1.5 cups White Zinfandel
- 1/8 cup sugar

How to Cook It
1) Put the peach slices in a bowl and prick lightly with a fork.
2) Add the whole cloves to the bowl and cover all with the White Zinfandel.
3) Allow the peaches and cloves to soak up the wine for 2-3 hours.
4) Preheat your grill. I use a griddle on top of my stove since we don't have a grill.
5) Meanwhile, strain the peach bits out of the wine and pour it and the whole cloves into a pot. Stir in the sugar. Bring the mixture to a boil.
6) Use a spoon or strainer to remove the cloves from the simmering wine after about 5 minutes. Continue to cook the wine down, stirring frequently, until it reduces to a sauce consistency.
7) Grill peaches for a few minutes on each side until tender.
8) Plate the peaches and drizzle lightly with the wine sauce. It's sweet, so a little goes a long way.

Thursday, February 24, 2011

Chocolate Layer Cake

This is the cake to make for the chocoholic in your life. I most recently made this one for my husband Greg's birthday. To balance the copious amounts of chocolate in this dessert, I recommend adding a scoop of vanilla ice cream or frozen yogurt on the side. I think you'll really find that the coffee brings out the chocolate flavors more than you might think!


Ingredients

For the cake you'll need...
- Butter or vegetable shortening to grease your cake pans.
- 1 3/4 cups flour
- 2 cups sugar
- 3/4 cup cocoa powder
- 1 tsp salt
- 2 tsp baking soda
- 1 tsp baking powder
- 1 cup buttermilk
- 1/2 cup vegetable oil
- 2 eggs
- 1 cup coffee
- 1 tsp vanilla extract

For the frosting you'll need...
- 2 sticks unsalted butter, brought to room temperature
- 1 cup semisweet chocolate chips
- An additional 1/4 cup chocolate chips set aside. Don't put these in the frosting.
- 1 egg yolk
- 1 tsp vanilla extract
- 1 1/4 cups powdered sugar
- 1 TBSP instant coffee powder
- 2 tsp hot water


How to Cook It

The cake...
1) Preheat your oven to 350 degrees Fahrenheit, and grease two 8-inch cake pans.
2) Combine the dry ingredients (flour, cocoa, sugar, baking powder, baking soda, salt) in a large bowl.
3) In a separate bowl, mix in the oil, eggs, buttermilk, and vanilla.
4) Set your hand or stand mixer to a low speed, and gradually add your wet ingredients to the dry.
5) Pour in the coffee and mix until blended.-- For this cake, the fresher the coffee, the better! Make sure you let it cool first though. Too hot, and you'll scramble the eggs. Yuck.
6) Divide the cake batter between the two greased cake pans.
7) Bake for 35-40 minutes, until a toothpick comes out clean.
8) Allow cakes to cool completely before you frost them.
9) Put the first cake on a cake plate or pedestal, round side down in preparation for frosting.

The frosting...
1) Melt 1 cup of chocolate chips using either a microwave or double boiler. Be careful not to burn the chocolate! While the chocolate cools to room temperature, you can get the rest of the frosting ready.
2) Using a hand or stand mixer, beat the butter on medium speed until fluffy.
3) Add the vanilla and egg yolk. Continue to beat for 5 minutes.
4) On low speed, add the powdered sugar and blend until smooth.
5) In a separate bowl, add the 2 tsp of hot water to the instant coffee powder. Stir until dissolved and blend into the frosting mixture.
6) Using a spatula, scrape the chocolate in and mix until well-blended.

Time to frost your layer cake...
1) Spread a thin layer (about 1 cm) of frosting on the flat side of the bottom cake layer you set aside.
2) Place the top layer above, being sure it's rounded side up.
3) Scrape the rest of the frosting onto the top layer.
4) Use a flat spatula or knife you're comfortable using to spread the frosting evening over your cake.

The chocolate drizzle...
1) Time to use that 1/4 cup of chocolate chips you set aside.
2) Use the same method to melt these that you decided on for the chocolate you added to the frosting.
3) Once melted, let cool a little, but not to room temperature.
4) Drizzle over the top of your cake randomly for an abstract effect. Delish!

Monday, February 21, 2011

Wine Poached Pears

Please don't be afraid of the word "poached." This really is an easy dessert. "To poach" is simply to cook something in simmering liquid, in this case that liquid is wine.


Ingredients
- 2 pears, cored and sliced
- 1 cup red wine (extra for the cook in a separate glass if desired)
- Freshly ground pepper to taste.


How to Cook It
- Pour your wine into a pan or pot large enough to fit your pear slices in a single layer.
- Stir in the ground pepper and heat the mixture until it just barely simmers.
- Add the pear slices. Poach them for 5-10 minutes depending on the thickness of your slices. Turn them halfway through your cooking time so that you get wine on both sides. 
- Once soft, remove the pears from the wine. 
- From here, you can either discard the wine or continue to simmer until it turns into a syrup.  
- For a light dessert, serve your pears solo. Feeling more indulgent? Add them to a couple scoops of french vanilla ice cream.